This topic is about adding color glyphs with the COLR extension. There are a couple of similarities with making a composite glyph, but there are also several differences.
Create a Single Color Glyph
The easiest way to create a color version of a glyph is to select the Colorize option from the right-click menu when editing a glyph. This will automatically add the current glyph and assign a single color to it.
Create a Multi-color Glyph
To make a multi-color glyph, you need to add other glyphs and then define a color for each of these color members. Unlike composite glyph members, you can’t change the size or position of these color members. You will need to make sure the individual glyphs are all designed to fit into the color glyph. One other important requirement is the fact that the metrics of the base glyph and the color members must be the same. So the offsets (usually set to 0) and the advance widths have to match.
You can use expressions to ensure the glyph metrics are correct for the color members.
To add one or more Color Glyph members, make sure you are in Color COLR Mode and right-click in the Glyph panel and select Add or click the Add icon  .
.

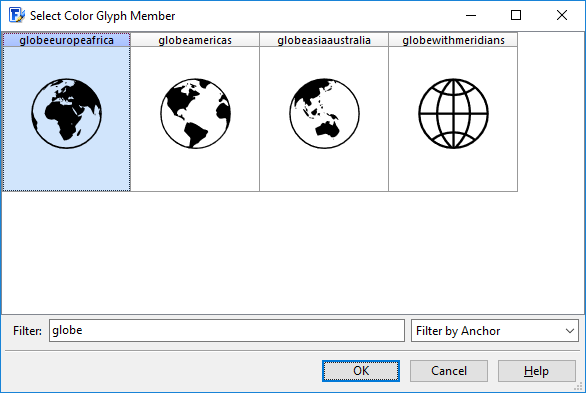
In the Select Color Glyph Member window select the glyphs you want to add to the color glyph and press the OK button.
You can change the order of the color glyph members via the up and down buttons on the Color Glyph Member panel, the Order options in the right-click menu or via the Alignment toolbar. To show and/or hide toolbars, select Toolbars on the View menu.
Note: for compatibility reasons the second glyph in OpenType COLR version 0 color fonts should be the .null glyph.
See also: