Import Image can be selected from the Tools menu when you have activated a Glyph panel or it can be selected from the context menu after right-clicking in the panel. When you open a vector based image file, the file will be instantly imported.
In vector based image editing software you can use all kinds of objects to create your images. Such objects can be paths, lines, shapes, text, etc. That’s not it, as you can also apply specific strokes to each of these objects. These strokes control thickness, how segments join, and the appearance of both ends of an open path. There are numerous other capabilities like fill objects, gradients, etc.
FontCreator can only extract the bare paths, thus completely ignores the strokes, fills, etc. And since glyphs can only consist of closed contours, all open paths are automatically closed.
Tip: FontCreator allows you to copy and paste vector based artwork from several applications like Adobe Illustrator, Adobe Photoshop, Inkscape, and Affinity Designer.
Import Settings
Scale and position depend on the import settings, so check those if your imported image is too small, too large, or placed outside the visible glyph area.
Tip: Most vector editing software uses cubic bezier curves while FontCreator supports both quadratic and cubic bezier curves. FontCreator will convert imported outlines to the outline format as defined in the Desktop (ttf/otf) Font Export Settings. While designing your font it might be wise to set this outline format to match the format used within your vector editing software, as then copy and paste back and forth doesn’t require any conversions.
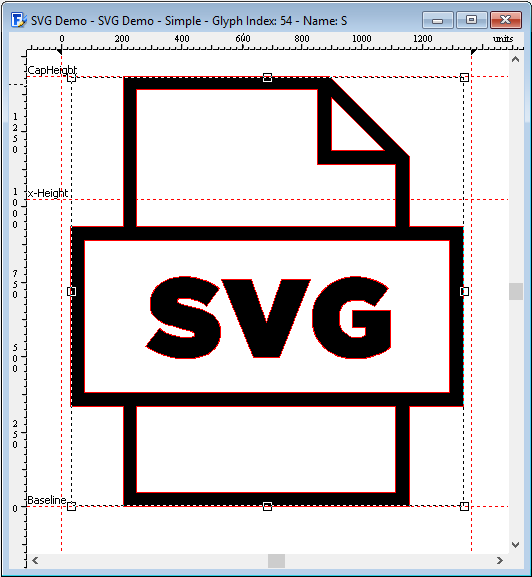
Importing Portable Document Format (PDF) and Scalable Vector Graphics (SVG)
FontCreator supports path, rectangle, circle, and ellipse, so no text, fills, gradients, etc.
If, for some reason, the glyph outline seems wrong, ensure that your original SVG doesn’t contain overlapping paths.
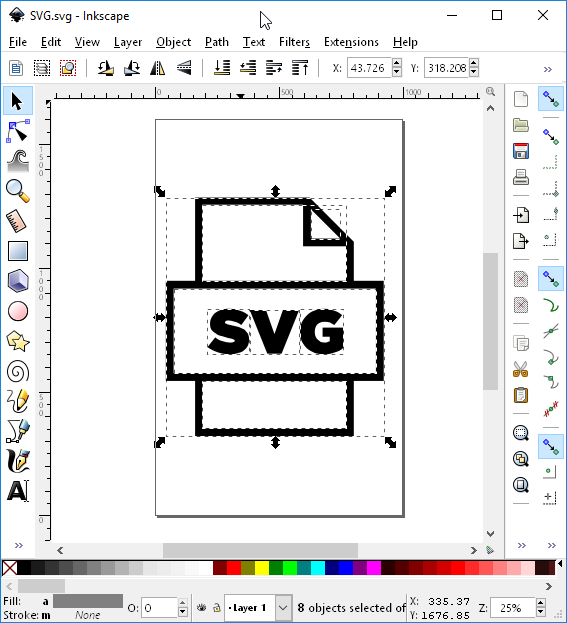
Importing from Inkscape
For best results ensure that all strokes are converted to closed paths within Inkscape:
- select all objects
- select Ungroup from the Object menu
- again select Ungroup from the Object menu as some groups might reside in other groups, etc.
- select Stroke to Path from the Path menu
Then copy and paste that image in FontCreator.
Tip: you can also copy outlines from FontCreator to the clipboard and paste them in Inkscape. To paste in Inkscape, go to the main menu and select File -> Paste In Place (or Ctrl+Alt+V). This ensures the position remains the same between the two apps.
Importing from Affinity Designer
This mostly works similar to what is explained above with Inkscape.
When pasting outlines into Affinity Designer, it tries to be smart and centers the outline. Then when you paste back into FontCreator, it also scales based on the documents DPI setting. To avoid scaling, you need to set it to 72 in the Affinity document.
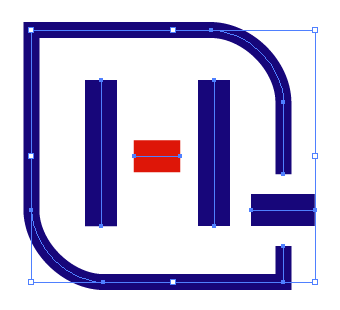
Importing from Adobe Illustrator
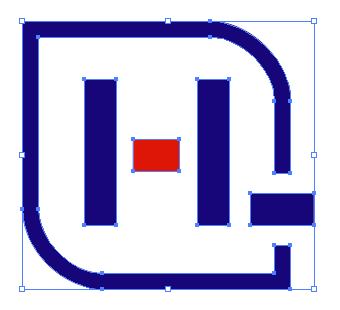
Here is a logo created with Adobe Illustrator. It contains four lines and a rectangle with two rounded corners and a gap at the lower right. All of these objects contain strokes to give them thickness.
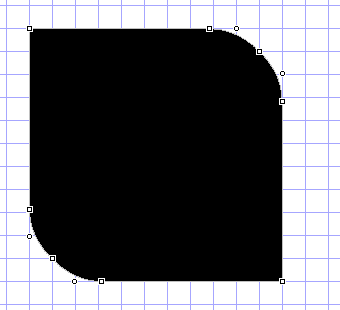
When imported into FontCreator, the result is not as intended as the strokes are not imported, thus the thickness of the objects is stripped off. The lines are all discarded as contours with only two points are useless. The rectangle is imported but the gap is no longer there.
One easy step ensures that our vector image can be safely imported into FontCreator. In Adobe Illustrator, select all objects, then from the main menu select Object -> Path -> Outline Stroke. The result is shown here:
When we import this version of the vector image the result is a perfect fit!
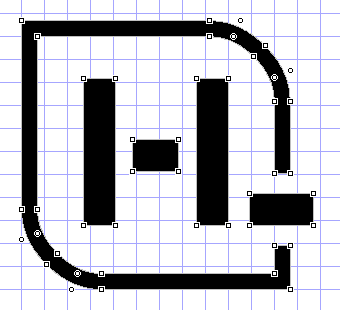
5 contours with 44 points is the final result.
Tip: It is also best to immediately resize the imported contours right after you’ve pasted them into FontCreator. The “Add on-curve extremes” feature will round the coordinates to whole integers, so always do this after you’ve made sure that the size of the imported contours is correct.
Tip: You can also paste an image from the clipboard or drag and drop image(s) from explorer into the Font and Glyph panels.
Note: You can’t import images into composite glyphs. If you want to include more contours, then you need to add them to another glyph and add it as glyph member, or convert the glyph to a simple glyph.