Tags allow you to mark glyphs so they appear with a background color in the Font panels. The same color is shown on the tab bar for glyph panels. To tag a glyph, right click on one or more selected glyphs and select one of the tags from the Tag submenu, use the keyboard shortcut keys (Ctrl + 1-5) or drag and drop them from the font panel onto one of the tag categories. You can view all glyphs that have a tag by selecting the Tagged category from the categories panel or select one of the tag subcategories to view all glyphs that have a specific tag assigned to them.
You can select glyphs with a specific tag through Select Tagged command from the Edit menu.
Toggle Tags
To untag a glyph, you can either select Tag None, or tag the glyph again.
Note: Each glyph can only have one tag, but you can also specify a tag per layer.
Filter by Tag
Choose a tag in the categories panel to filter the font overview to glyphs carrying that tag. The No Tag filter shows only glyphs that have no tag assigned, which is useful for finding glyphs that have not yet been triaged.
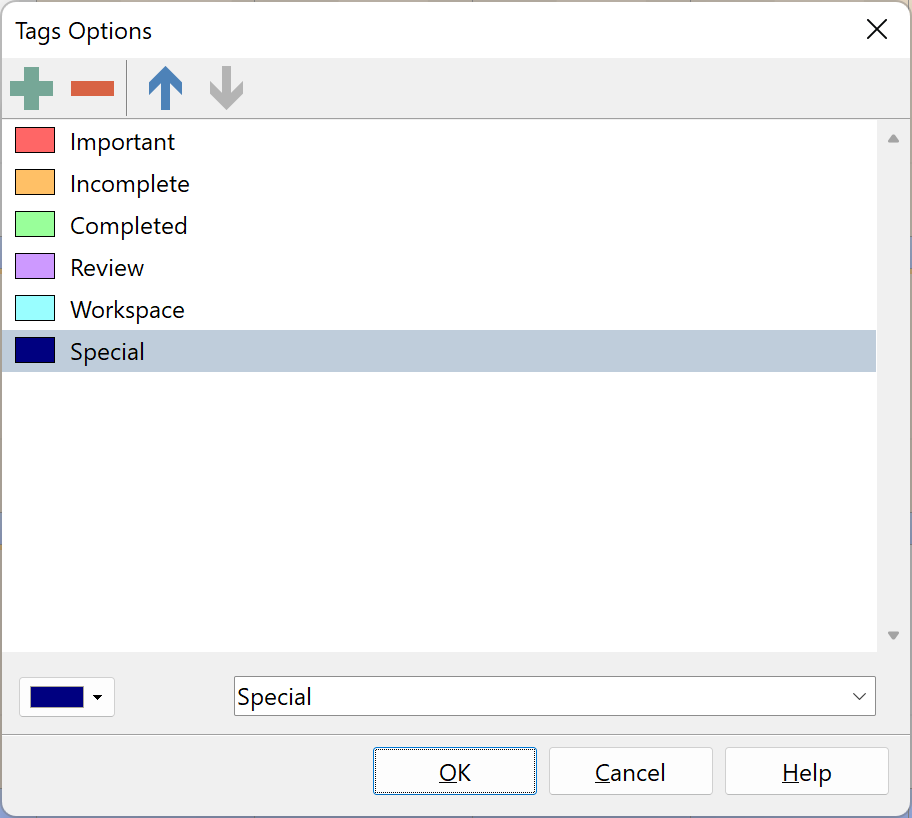
By default a new font allows you use 5 different tags, but you can easily add more through the Tags Options dialog. Select Tools -> Tags Options from the main menu.