Font List panel
The font list is one of the most important panels as it shows the list of fonts based on the selected view or group. When the Active view is selected, it will show all active fonts. Active fonts are either installed or loaded, thus available to all applications.
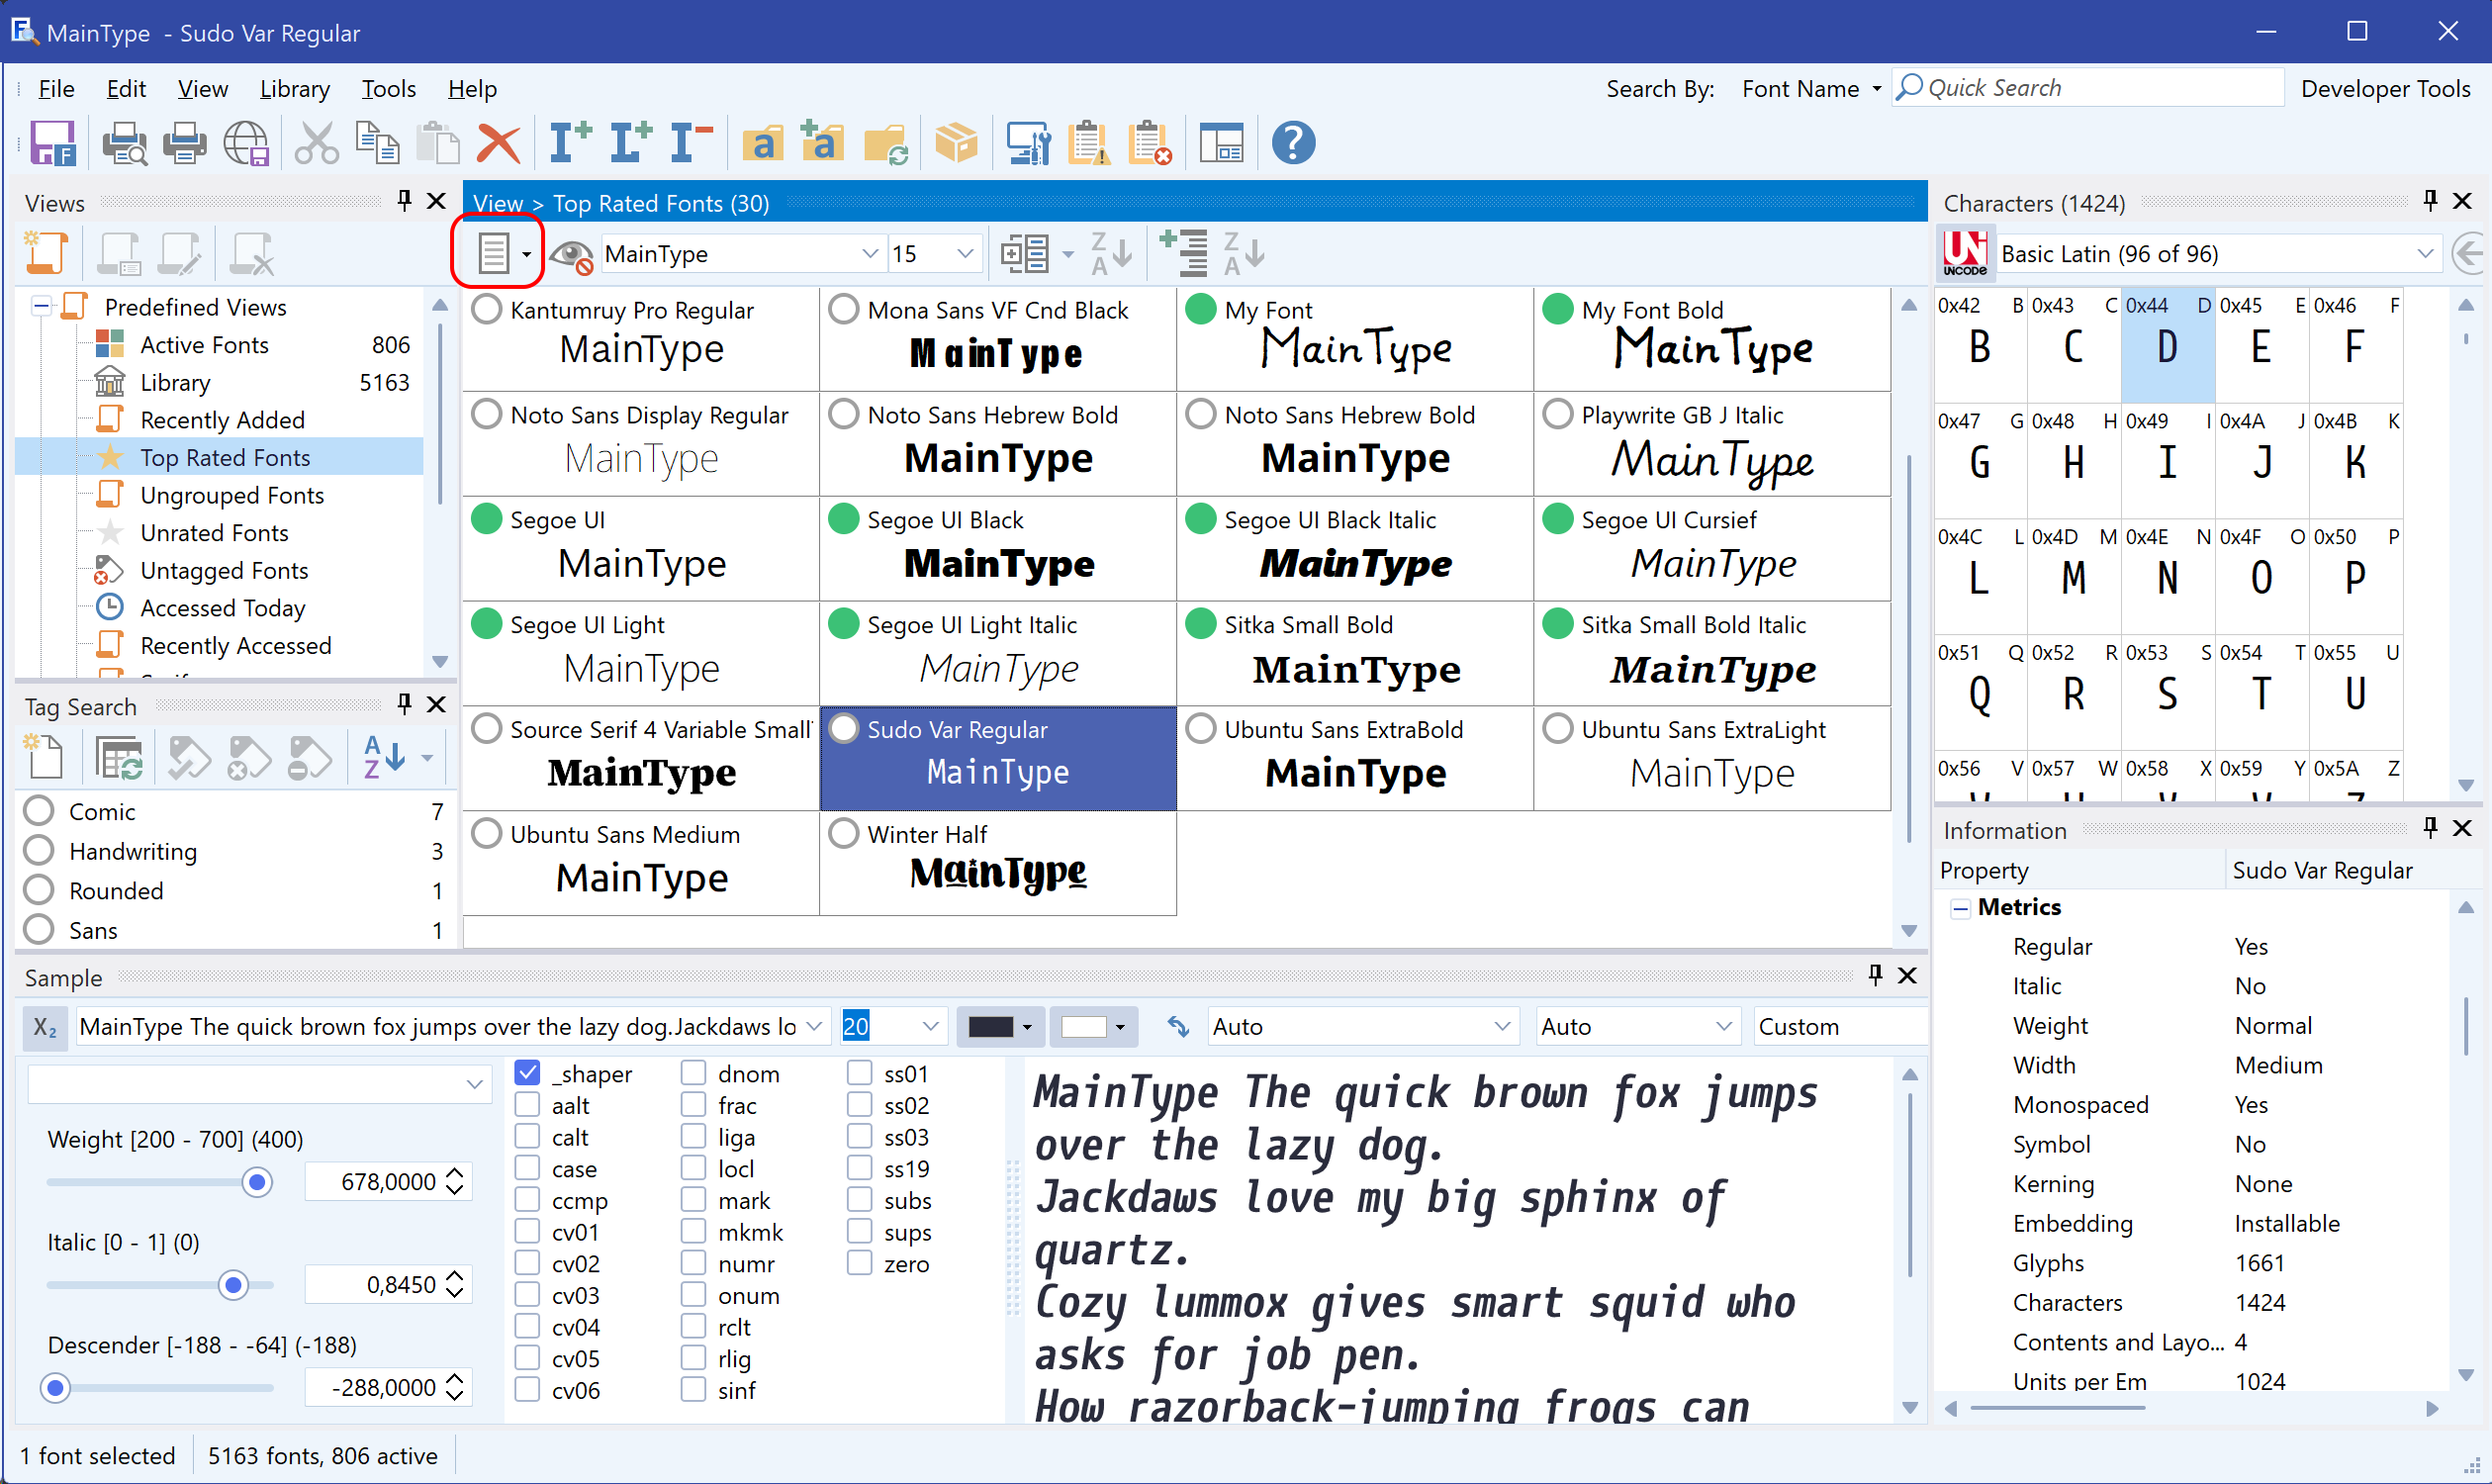
The toolbar at the top of the font list panel provides quick access to several display options:
•View Mode: The first button (surrounded by a red rounded rectangle) lets you switch between Details View and Grid View.
•Font Preview Toggle: The adjacent eye icon enables or disables font previews. When enabled, the “Preview” column displays your selected preview text using the actual font, allowing you to scroll through the list and see live previews.
•Preview Text: The Preview Text combo box lets you choose or enter custom text to appear in the Preview column. You can type directly into the box or select from predefined options. For additional customization, open the Options window.
•Font Size: The Font Size combo box allows you to adjust the size of the preview text shown in the Preview column.
•Categorization Tools: The remaining toolbar buttons are used for font categorization and managing family groupings. These options are only available when using Details View.
Categorization and family grouping
With categorization and family grouping (the last toolbar buttons) your long list of fonts will be changed into groups. To choose the category, do click the triangle on the right side of the categorization toolbar button. You can then choose between:
•Embedding
•Font Type
•Foundry
•Rating
•Weight Class
•Width Class
With family grouping, all fonts within the same font family will be grouped together.
Columns
In Details View, each font is displayed on its own row. By default, MainType displays thirteen columns in the fonts panel, but there are many more. If you right-click on any column header you can change the visibility of the columns and restore them to their original size. If the name of a column is checked, it will appear in the panel. You can change the width of each column by left clicking on the vertical bars between each column and dragging it either left or right. To change the order of the columns left click on the column header and drag it to the left or right. Left-click on any column to sort the fonts.
These are all available columns:
State, Preview, Full Font Name, Family, Style, Type, Regular, Italic, Symbol, Mono, Embedding, Glyphs, Characters, Kerning, Features, Classification, Sample Text, Weight, Width, Version, Foundry, Rating, Note, Tags, Grouped, Date Created, Date Modified, Date Added, and File Size.
Font State
The status of each font is indicated by a colored ball in the State column of the font list. These indicators help you quickly identify how a font is being used:
|
The font is not loaded and not installed |
|
The font is installed and loaded |
|
The font is loaded through MainType and can be unloaded |
|
The font is installed but not loaded. This may indicate a corrupt font or an unavailable resource. |
|
The font is loaded by an external application, and MainType cannot determine its location. These fonts cannot be unloaded through MainType. |
|
At least one font in the family is loaded. This indicator appears only when family grouping is enabled. |


For a more detailed explanation of the differences between loading, installing, and uninstalling fonts, please refer to the section on Install, Load, and Uninstall.
Sample Text
This is an optional naming field inside fonts and not found in most fonts. Font designers use a font editor like FontCreator (Font Properties, Extended, Sample text) to add naming fields.
Font List Settings
To change font list related settings, select Options from the Tools menu and then click the Font Lists tab. among other things, it allows you to show the preview of fonts in red when the font is missing any of the characters needed for the preview text. This powerful feature quickly tells you which fonts lack characters you require.
In the Options Dialog, on the Font Lists tab, you can enable/disable the preview of fonts in red when the font is missing any of the characters needed for the preview text. This helps find only fonts that contain the characters you need for a specific project.
Font Size and Zoom
The mouse wheel can be used to zoom in or out when the CTRL key is pressed. If you also press the SHIFT key, the cell size won’t change, but the character size will change. To rest to the default sizes, select Reset Font Sizes from the View menu.
Select Multiple Fonts
To select multiple fonts do one of the following:
•To select consecutive fonts, click the first font, press and hold down SHIFT, and then click the last font.
•To select nonconsecutive fonts, press and hold down CTRL, and then click each font.
•To select all the fonts in the list, on the Edit menu, click Select All.
Tags
To add tags to your fonts, you can either right-click the selected fonts, or use the Tags panel. You can then use the Tag Search panel to only view fonts based on the tags.
Note: To prevent your system from running out of resources, the 32 bit edition of MainType will show at most 50000 fonts at once in the font list . MainType can easily manage many more fonts, so if your font library contains more than 50000 fonts, do consider tags, views, ratings, or groups to browse subsets of your collection, or install and use the 64 bit edition of MainType as that edition doesn’t have this limitation. Open the about box to see what edition you use.