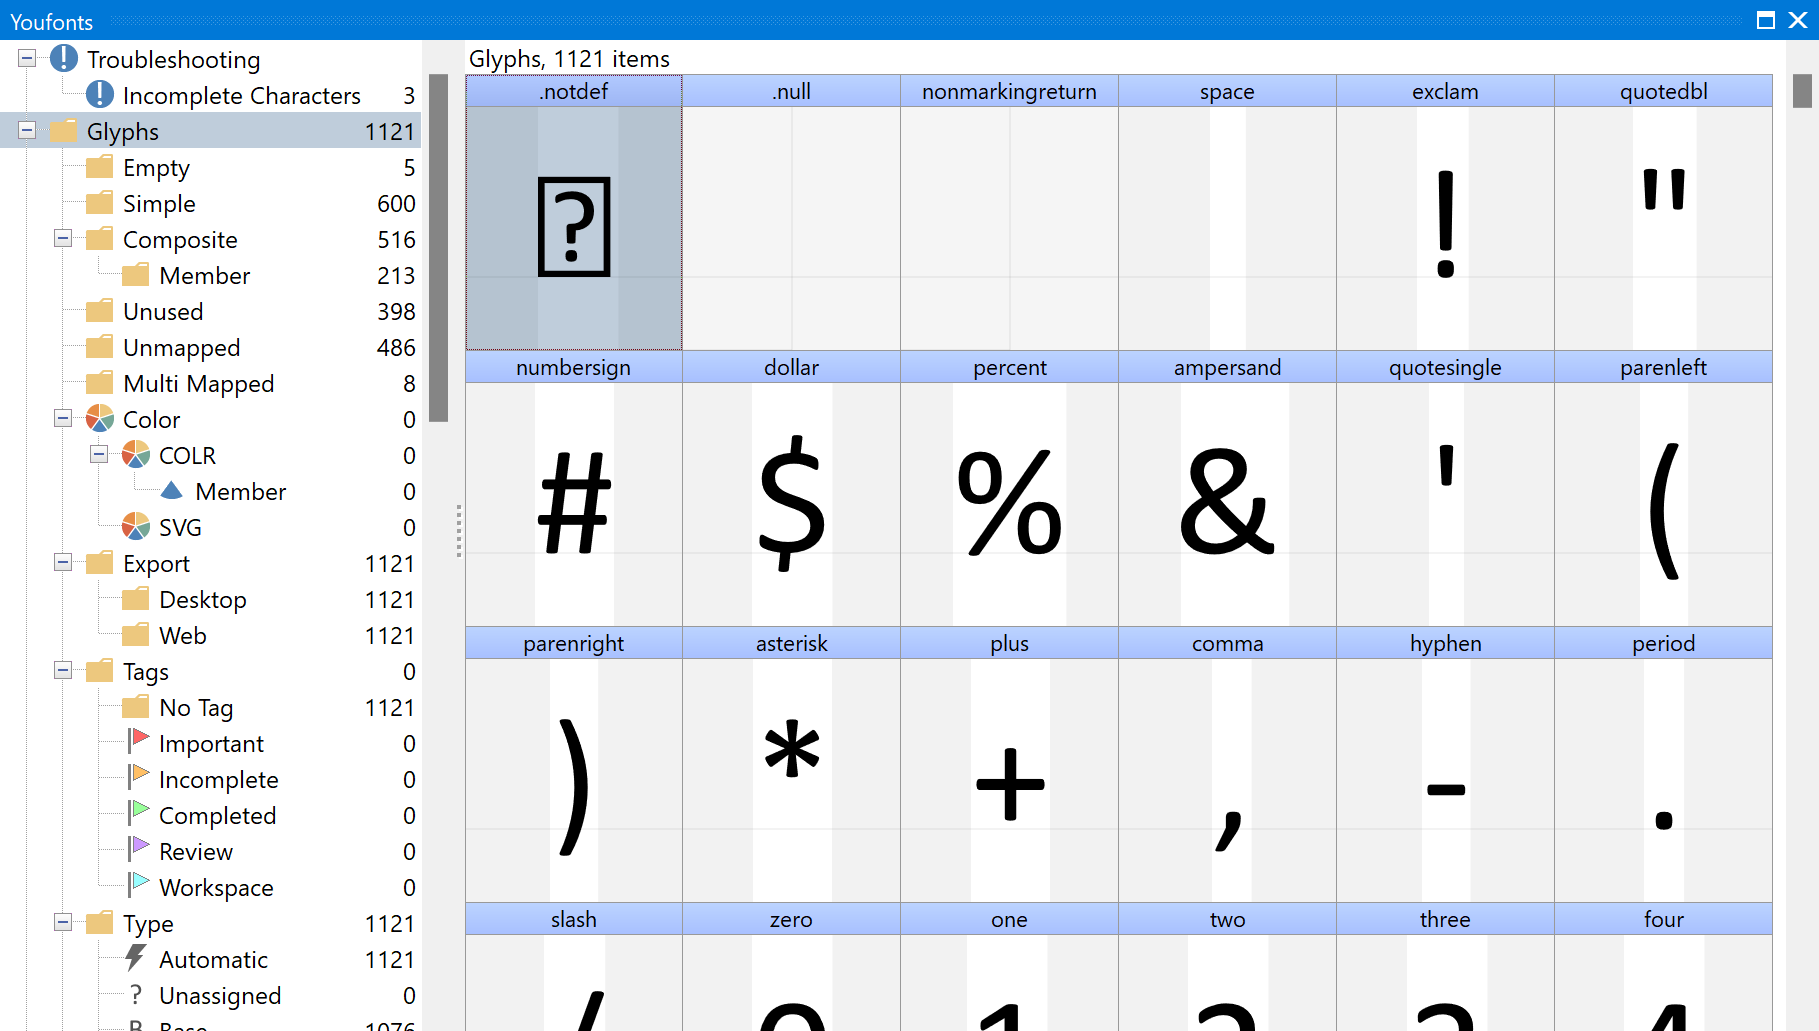
The Font panel is the bird's-eye view of every glyph in the project. It pairs a categories tree on the left with a glyph grid on the right; the grid shows one cell per glyph with a caption above the rendered shape. Cells whose code-points have no real glyph yet show a sample character with light-grey outlines so missing characters are visible at a glance.
Categories
The categories tree restricts the grid to a subset of glyphs and supports several groupings and orderings. Switch the active category with the Overview Toolbar.
Two categories worth noting:
•Unused — appears under Glyphs when the font contains glyphs that are not reachable through normal mappings. Such glyphs add file-size with no benefit; consider excluding them on export through the Options → Font tab.
•Scripts — lists every script the font covers. Characters used by multiple scripts (digits, punctuation, etc.) are listed once at the top, separately.
Filter by Tag
The Tags category filters the grid to glyphs carrying a chosen tag, with an extra No Tag filter that surfaces glyphs that have not yet been triaged — useful for tracking authoring progress.
Cell Captions
Each cell carries a caption above the glyph image. Choose what the caption shows from the Overview Toolbar or from the right-click menu in the Font panel: glyph name, Unicode name, code-points, or glyph index. Automatic follows the active grouping — if the grouping is by Advance Width, the caption shows the advance width.
Switch code-point captions between decimal and hexadecimal through the Options → View tab.